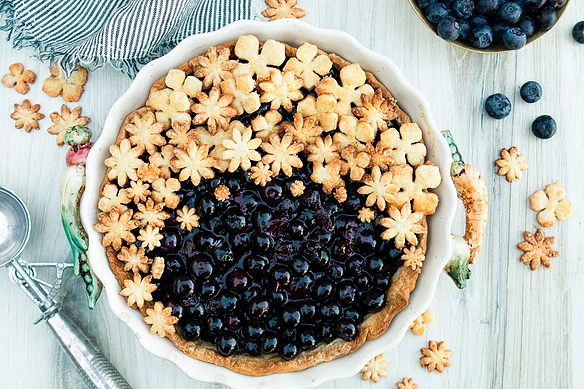
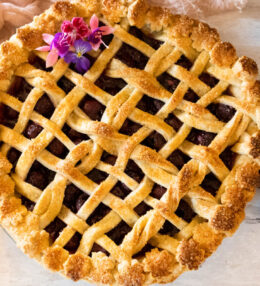
There’s nothing more delicious than a fresh homemade pie. Especially when the fruit is abundant and ripe! The struggle, for me, is always making the crust.This recipe, however, never seems to fail me. It’s easy to make in the food processor and comes together in just minutes.This crust comes out flaky and buttery. It’s the perfect crust to make decorations out of, to use for a galette or to adjust for a savory crust.I have learned over the years that practice makes almost perfect when it comes to pie crusts. As much as you get a feel for it, they can still tear a bit when trying to get them into the pie dish. They can stick to the rolling surface if it’s not floured well enough. My only advice is to not get frustrated and remember that pie crusts can usually be patched together!
Share Your Thoughts...
Lastly, if you make Perfect Pie Pastry, be sure to leave a comment and/or give this recipe a rating! Above all, I love to hear from you and always do my best to respond to each and every comment. And of course, if you do make this recipe, don’t forget to tag me on Instagram! Looking through the photos of recipes you all have made is one of my favorite things to do!
Perfect Pie Pastry
Makes: 2 pie crusts
Prep Time: 45 minutes
Total Time: 45 minutes
Ingredients
2 cups all-purpose flour
3 tbsp granulated sugar
1/2 tsp kosher salt
1/3 cup unsalted butter chilled and cubed
1/3 cup shortening chilled and cubed
1 large egg
1 tbsp fresh lemon juice
1/4 cup ice water
Instructions
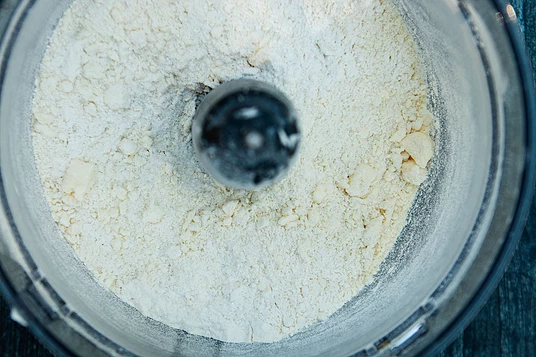
Combine flour, sugar and salt. I use a food processor, but feel free to do this by hand, using a large bowl and a whisk. Add the cubed butter and shortening and pulse only until blended to a rough, crumbly texture. It should only take 2 or 3 pulses. You still want to see large pieces of butter (the size of marbles). You can also use a pastry blender or knife to achieve this. Try not to overwork with your hands though- their warmth will warm up the butter too much.
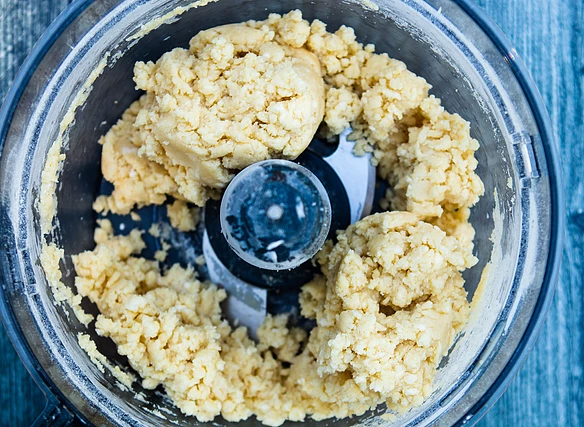
Whisk the egg, lemon juice and 2 tablespoons of the ice water in a small bowl.Add to flour mixture and pulse just until the dough comes together into a rough ball. Don’t worry about grabbing every little bit from the sides as you can add this to the ball you turn out onto the counter by hand. Ideally you should still see pieces of butter. If it isn’t coming together in the first few pulses, add more ice water, but no more than the original 1/4 cup stated in the ingredients. On a humid day you will most likely need less water.
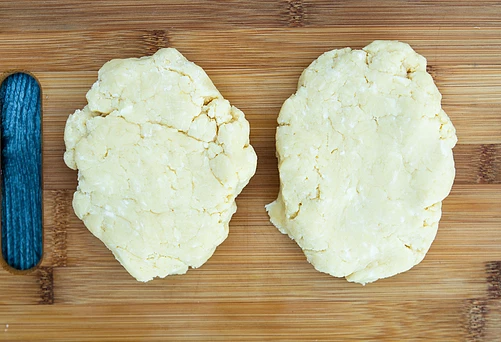
Shape the ball into two disks and wrap.If you are using them for top and bottom pie crusts, divide them evenly.If you are using them for a bottom crust and lattice or cutouts for the top, divide into 2/3 and 1/3 (using the larger disc for the bottom crust).Chill at least 30-60 minutes, or freeze until needed.
Take out one disk and let return to room temperature. Don’t roll a disk that is still cool, it will crack along the edges. Place it on a well-floured counter.
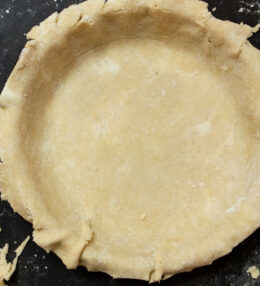
Flouring the rolling pin, roll the disk out. Decrease pressure as you reach the edges. After each roll, spin the dough 1/4 turn. Keep flouring all the surfaces to keep from sticking. Roll to 2-3 inches larger than the pie plate you are using (should be around 1/8″ thick.)Either roll the disk up around the rolling pin and release it over the pie plate; or dust with flour and fold it in half and then in half again loosely and lay across the pie plate and then open it up. (In either case make sure that the dough is floured enough so that it won’t stick together.)Allow the pastry to fall down the sides of the pie plate, so that there are no gaps between the dough and the pie plate. This will ensure that the dough will not pull up from the base, or shrink during baking. Trim it, allowing enough of an edge to work with the type of crimp you wish to use.Place the prepared pie shell back into the fridge to chill for about 20 minutes.
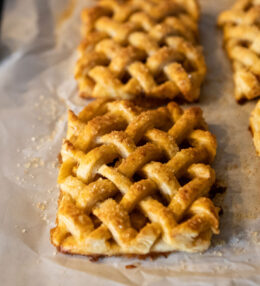
From this point, follow the directions for the pie recipe you are using.Repeat the above instructions for the remaining disk of dough. If using as a lid for a covered pie, roll to about 2 inches larger than the pie plate, allowing it to cover any raised filling. Or use to create lattice or cut outs (either with a well floured cookie cutter or free hand). Cut out the dough and transfer “cookies” or lattice to a parchment-lined baking sheet.When completed, place the baking sheet in the fridge for 15 or so minutes. Once they come back out, let them soften just a little so that they don’t crack or break when you start using them. If they warm up too much as you work with them, return to the fridge for a few minutes.
Use an offset spatula to remove the piece you are working with.Once your pie has been filled and covered the way you like, place the finished pie back in the fridge for at least 15 minutes. Once the oven is warmed up, only then take the pie out and do an egg wash. The fridge time will help the pastry from shrinking too quickly when it goes into the oven.


Leave a Review