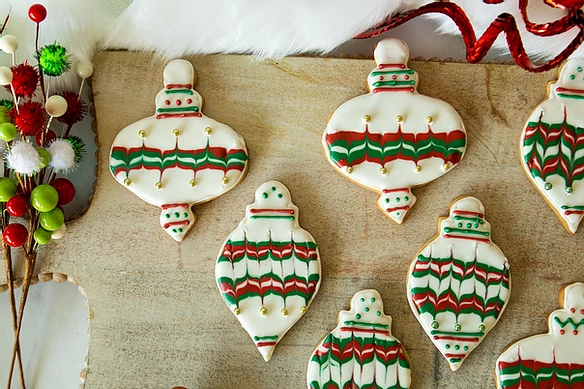
When holiday baking calls for something special, these iced cookies are a stunning answer. They remind us of the beautiful ornaments that you were never allowed to touch as a child, but we’re encouraging you to not only touch these but eat these!
This recipe uses my traditional Holiday Sugar Cookie as the base, a delicious cookie hinting of nutmeg. Make my Royal Icing recipe and then follow the directions in this recipe. As always, feel free to follow the Royal Icing Tutorial to help with consistency.
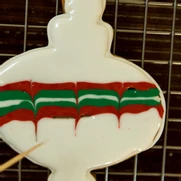
Once the cookies are baked and cooled, outline the cookie with border consistency royal icing. Once that hardens, the fun begins! Fill the cookie in, add some colored lines, and draw a toothpick through the lines to create a marble effect.
Once that hardens, use the border royal icing to draw additional lines and dots on the ornaments and finish off with colored dragees!
I won’t lie, these take a little bit of time, but the result is stunning! Enjoy your holiday!
Share Your Thoughts...
Lastly, if you make Ornament Iced Sugar Cookies, be sure to leave a review down below at the bottom of this page (stars are also appreciated)! Above all, I love to hear from you and always do my best to respond to each and every review. And of course, if you do make this recipe, don’t forget to tag me on Instagram! Looking through the photos of recipes you all have made is one of my favorite things to do!
Ornament Iced Sugar Cookies
Makes: 24-36 cookies
Prep Time: 45 minutes
Bake Time: 11 minutes per sheet
Total Time: 1 hour & 30 minutes plus chill time 3 hours
Gel food coloring in Kelly Green, Juniper Green, Christmas Red, Golden Yellow, and Black (Wilton)
Decorations (shiny dragees)
Instructions
Make the cookies and royal icing per the recipes. Review the Royal Icing Tutorial to understand “border” and “flood” consistencies.
Divide Royal Icing among 3 bowls: 3 cups (540 grams) in the first, 1½ cups (270 grams) in the second, and 1½ cups (270 grams) in the third. Cover bowls with a damp paper towel or kitchen towel to keep icing from drying out.
To the first bowl (3 cups), add water, 1 teaspoon at a time, until border consistency is reached. Place 1 cup in a pastry bag fitted with a very small round piping tip (Wilton No. 1). To the remaining 2 cups, add water, 1 teaspoon at a time, until flood consistency is reached. Place in a pastry bag or a small piping bottle (if using) fitted with small round piping tip (Wilton No. 3).
To the second bowl (1½ cups), slowly add Kelly green food coloring until a bright green is reached; slowly add Juniper green until the desired color is reached. Add water, 1 teaspoon at a time, until border consistency is reached. Place ½ cup in a separate bowl, cover airtight, and set aside. To the remaining 1 cup, add water, 1 teaspoon at a time, until flood consistency is reached. Place in a pastry bag or a small piping bottle (if using) with small round piping tip (Wilton No. 3).
To the third bowl (1½ cups), add Christmas red food coloring until desired color is reached; add golden yellow and a touch of black to keep it from going pink. Add water, 1 teaspoon at a time, until border consistency is reached. Place ½ cup in a separate bowl, cover airtight, and set aside. To the remaining 1 cup, add water, 1 teaspoon at a time, until flood consistency is reached. Place in a pastry bag or a small piping bottle fitted with small round piping tip (Wilton No. 3).
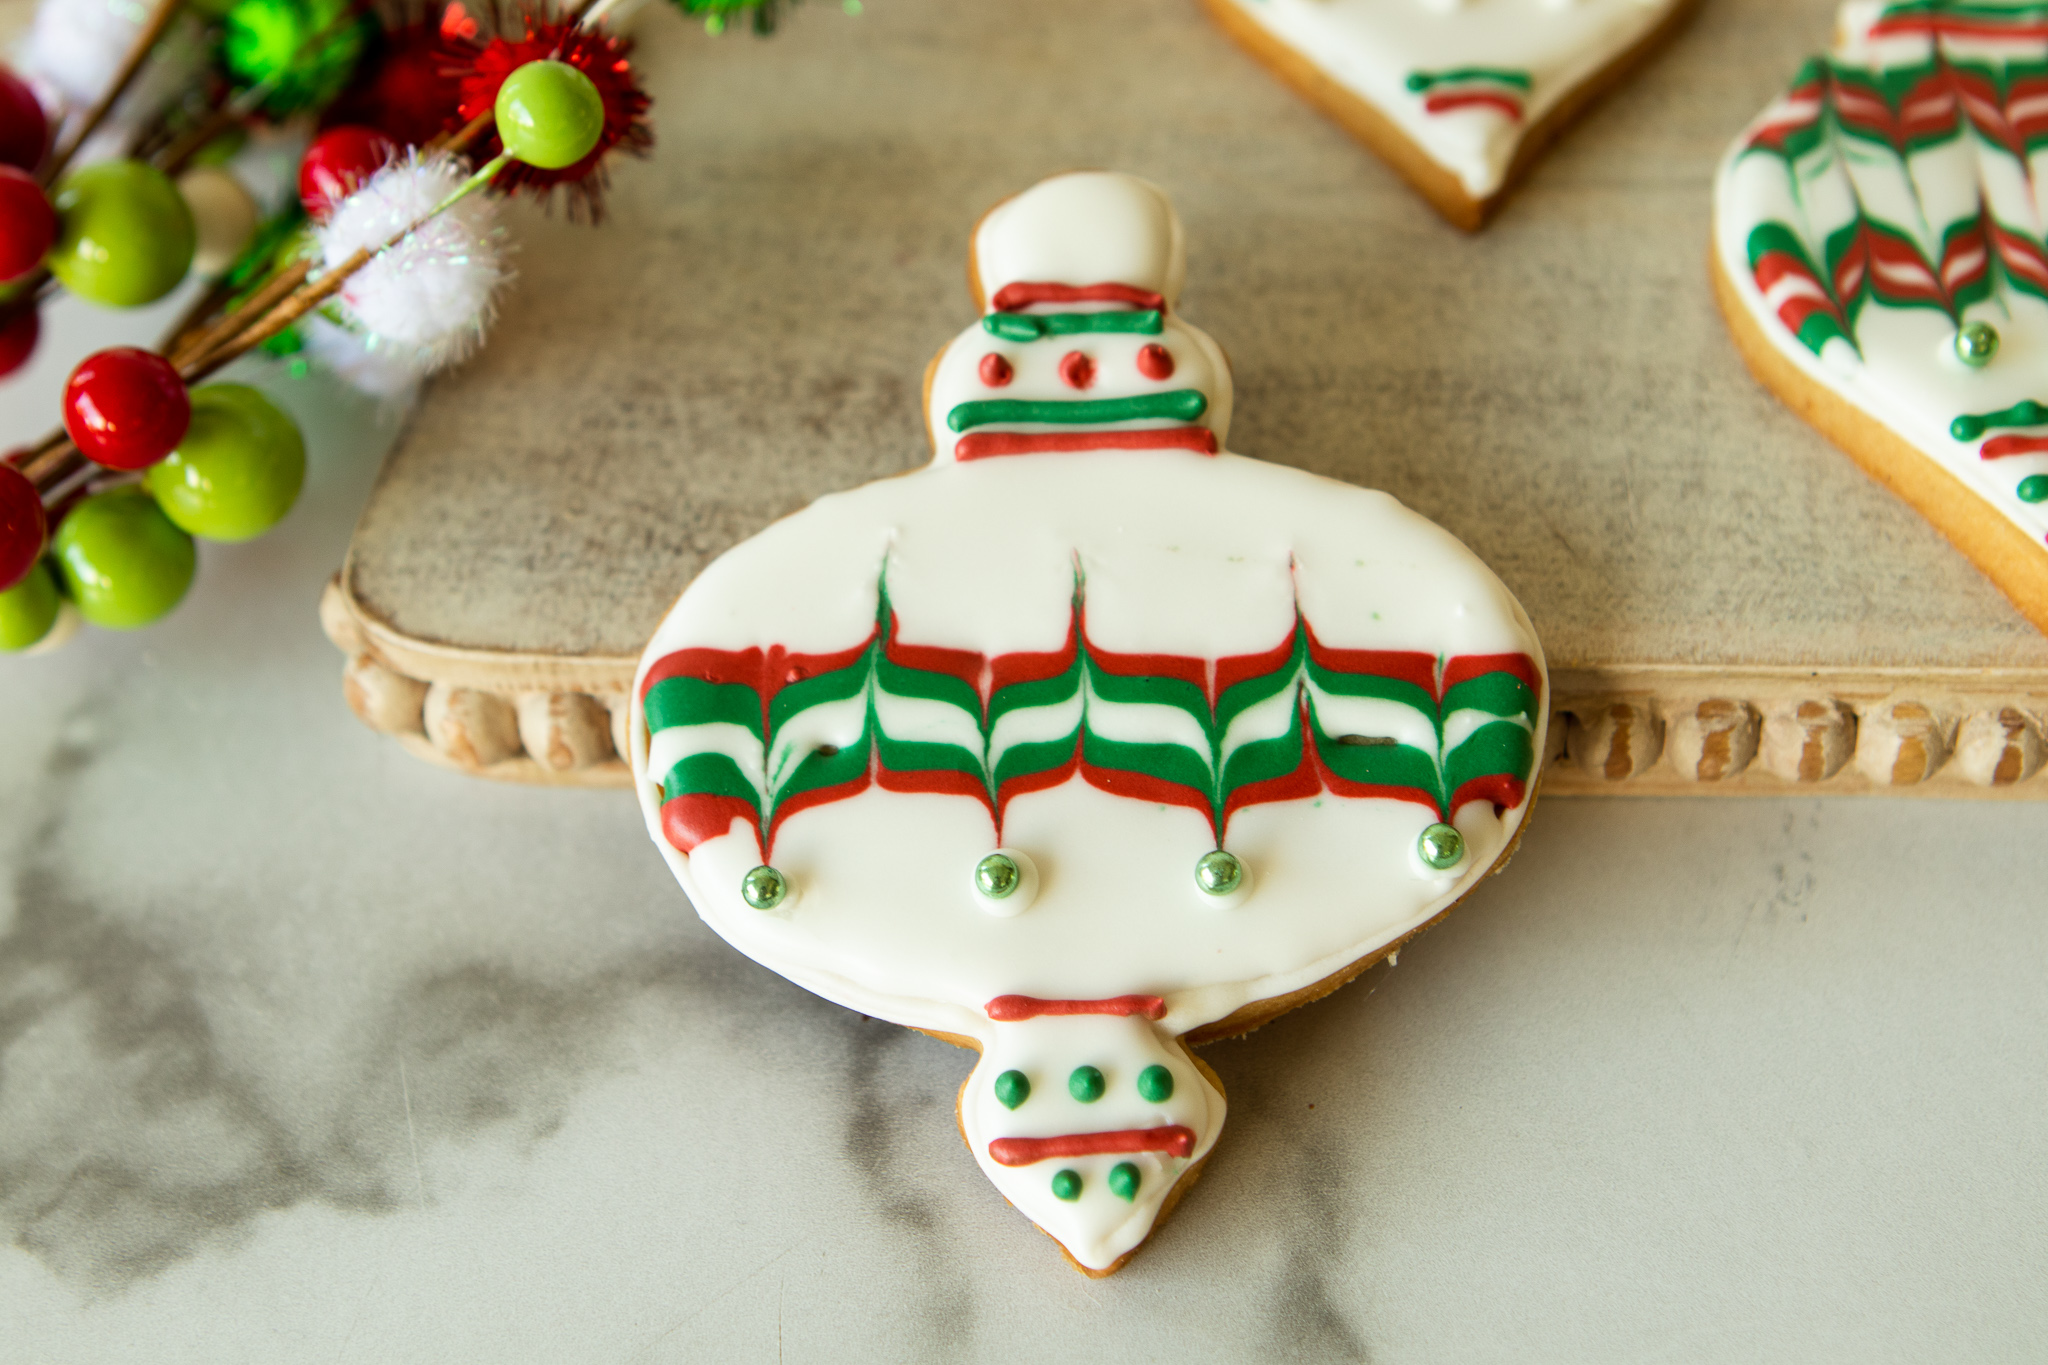
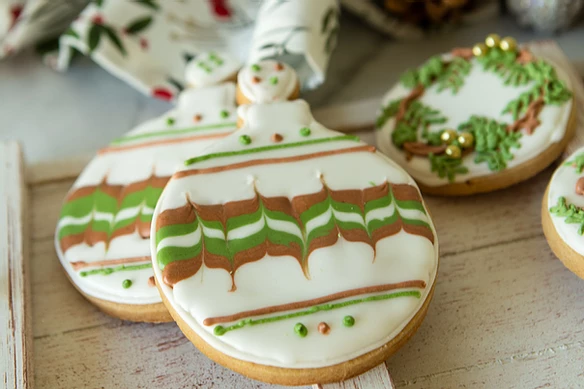
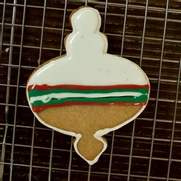
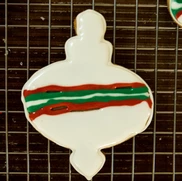
Using white border icing, pipe an outline along edges of a cookie. Using the white flood icing, fill in the top quarter of the round part of the ornament cookie; pipe a line each of red flood icing, green flood icing, white flood icing, green flood icing, and red flood icing. Fill in the remaining area with white flood icing. Using a wooden pick, remove any air bubbles and make sure there are no gaps in the icing.
Using a clean wooden pick, drag down through the center of the colored band of icing, wipe pick clean, and repeat 2 more times, to the left and right of the center, spacing evenly and wiping pick clean after each drag. Then drag up 2 times, between the down drags, wiping pick clean after each drag. Repeat with remaining cookies. Let dry for 2 to 3 hours.
Uncover the red and green border icings, and place each in a pastry bag fitted with a very small round piping tip (Wilton No. 1). Above the marble design, pipe a red line and then a green line. Below design, pipe a green line and then a red line. Pipe 2 more red lines, between each level down the point of the ornament shape on the lower part of the cookie. Pipe a horizontal row of green dots between bottom red lines (4 dots and then 3 dots); pipe a vertical row of 2 green dots on the bottom tip of the ornament.
Add dragees by placing a tiny dot of royal icing where you want the dragee to go and placing the dragee on top of that dot (I use tweezers to help place the decoration).
Let dry until hardened, about 30 minutes. Store in an airtight container for up to 1 week.


Leave a Review