Classic Vanilla Layer Cake with Buttercream Frosting
October 28, 2019
5 / 5
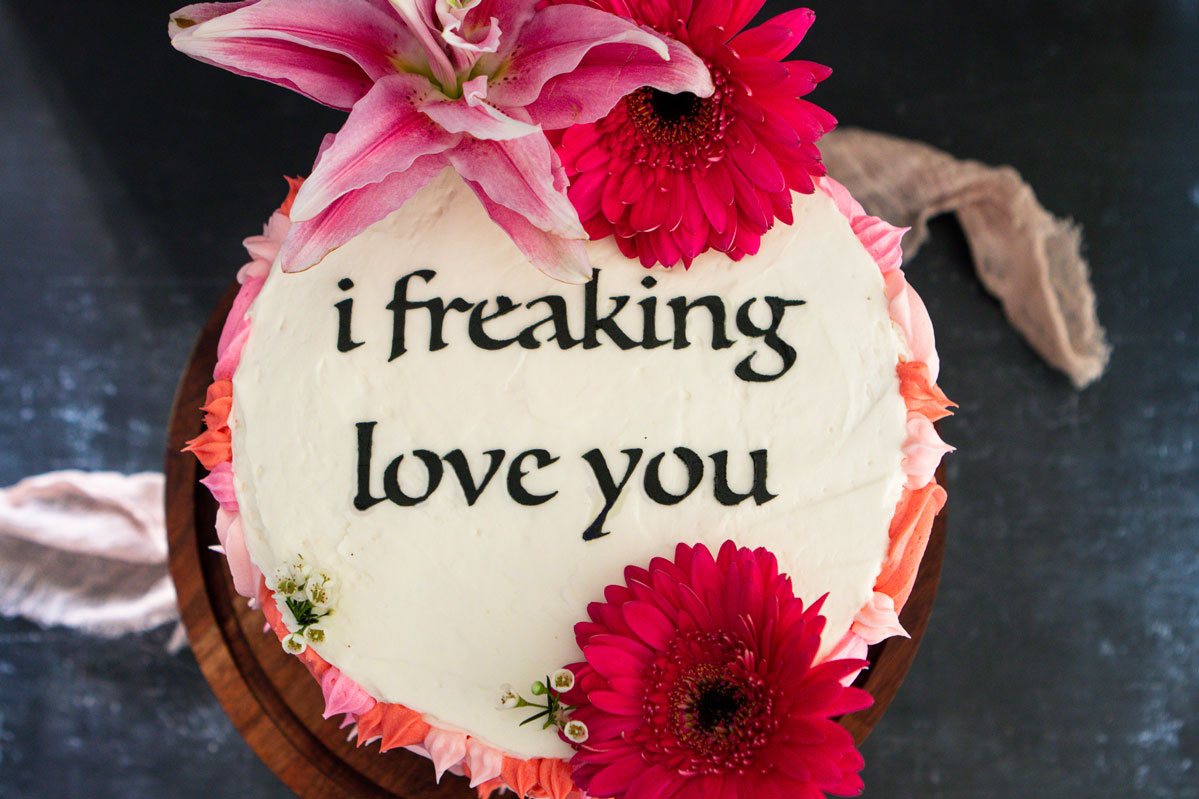
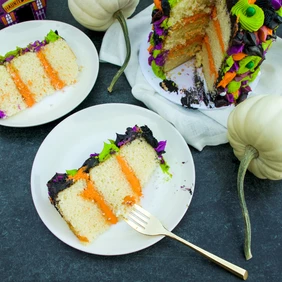
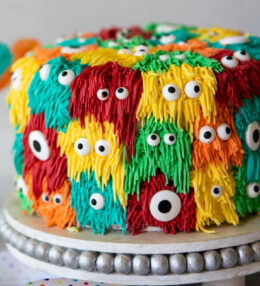
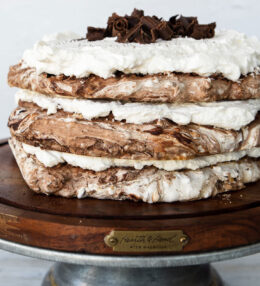
This Classic Vanilla Layer Cake with Buttercream Frosting is the perfect base for this special cake! I love to use this layer cake for Valentine’s Day cakes, Halloween, birthdays, Bridal or baby showers or just about anything!
The cake has a rich buttery flavor that is heavy on vanilla. The crumb is moist and delicious. Add an American Buttercream to the layers and it’s heavenly!
This Classic Vanilla Layer Cake is simply classic: buttery, lots of lovely vanilla flavoring, moist and versatile! I have sometimes added lemon zest to give it some zing and have dotted it with Heath Bits for a toffee-flavored cake.
The Buttercream (recipe to follow) is really nice, especially using the cream cheese option (that’s my favorite). It’s also great to pipe with, if that’s your thing.
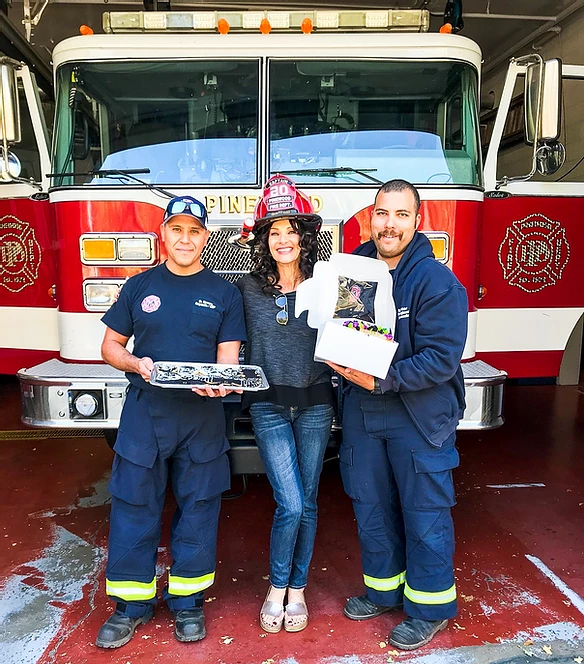
When I am finished with my cakes and cookies, you’ll find me delivering them to my local fire station. I can’t have those goodies around me…I have such a sweet tooth!
Share Your Thoughts...
Lastly, if you make Classic Vanilla Layer Cake with Buttercream Frosting, be sure to leave a comment and/or give this recipe a rating! Above all, I love to hear from you and always do my best to respond to each and every comment. And of course, if you do make this recipe, don’t forget to tag me on Instagram! Looking through the photos of recipes you all have made is one of my favorite things to do!
Classic Vanilla Layer Cake with Buttercream Frosting
Makes: 15 servings
Prep Time: 15 minutes (cake only)
Bake Time: 30 minutes
Total Time: 1 hour & 15 minutes (includes assembly)
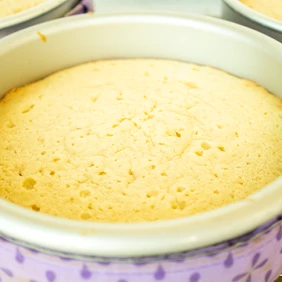
Preheat the oven to 350°. Grease three 9-inch round cake pans with butter or non-stick cooking spray, then line the bottoms with parchment paper. I like to use cake band strips around each pan to keep the cake nice and level (they really work!). Prior to using, be sure to get them wet and wring out so they aren’t dripping. Then, encircle the exterior of the pan as directed.
In a medium bowl, whisk together the flour, baking powder and salt. In a small bowl, beat together the eggs and egg whites.
In the bowl of a stand mixer fitted with the paddle attachment, cream the butter and sugar on medium speed until light and fluffy, about 3 minutes. Add the eggs in 3 additions, beating well after each addition and stopping after each addition to scrape down the sides of the bowl (I love this spatula for scraping). Add the vanilla and beat until well combined.
With the mixer on low speed, alternate adding the flour mixture in 3 additions and the milk in 2 additions, beginning and ending with the flour mixture. Blend after each addition until just combined, stopping the mixer to scrape down the sides of the bowl at least once. Divide the batter evenly between the pans, using a rubber spatula to spread it to the edges.
Bake for 30 minutes or util the tops are just turning a bit golden and a toothpick inserted in the centre comes out clean. For even baking, rotate the pans front to back halfway through. Allow the cakes to cool in the pans for 10 minutes before turning them out onto a wire rack to cool completely. Gently remove the parchment if it sticks to the bottom of the cakes. Cool completely.
Frost Cake using Classic Buttercream Frosting:
Place one cake layer on a cake turntable or a cake stand. Cut 4 pieces of aluminum foil about 2 inches wide and 8 inches long and tuck them under the cake’s exterior so that they protect the cake stand from excess frosting and keep it nice and clean for presentation. Using an offset icing spatula, spread some frosting until about 1/2” from the edge of the layer. Top with the second layer and repeat with the frosting. Top with the final layer.
I generally start on the outside of the cake verses the top. I put frosting on the spatula and spread it up the sides of the cake and smooth it as I’m spreading it. I continue until the entire cake is covered and smooth. I then use the remaining frosting to cover the top, smoothing as I go. I will work on the top edge of the cake, removing any excess that has accumulated. Once you are satisfied, gently remove the aluminum strips and serve!
Chef’s Notes:
If I can’t get a smooth upper edge, I pipe some rosettes on the top edge. Same goes for the bottom if, when I remove the parchment rounds, I mess up the cake a bit.
If you like piping, there are a bunch of youTube videos showing how to do it. I love the look of Rosettes, if you hadn’t noticed, and they are much easier to make than you would think! Look at some of these videos on Rosettes, especially the Ombre Rosette Cakes (those are the ones that have a gradient color scheme).
If your buttercream gets too soft, it will be difficult to pipe, so just pop it into the fridge for 5 mins to firm up a bit. Sometimes I put the cake in too!


Recipe Reviews